
Thermal Shock Chamber Specs: Uniformity and Recovery Time
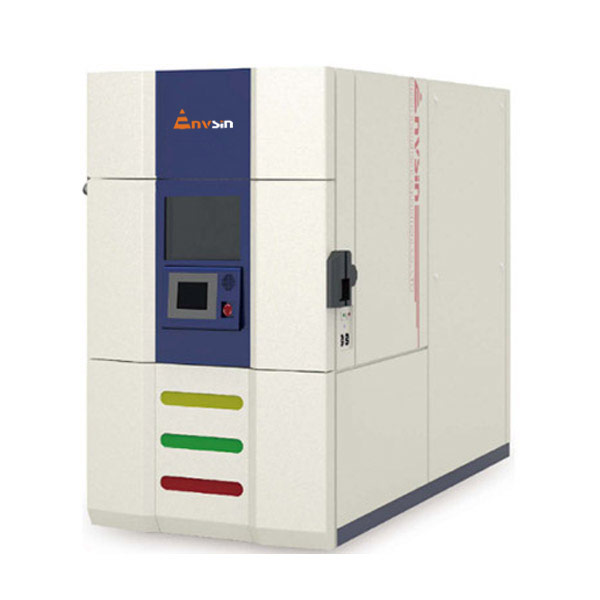
Thermal shock chambers are usually shortlisted on two headline numbers: how hot the hot zone runs and how cold the cold zone runs. Both matter, but neither tells you whether the chamber can produce a valid, repeatable thermal shock test. The parameters that actually decide that are temperature uniformity, temperature fluctuation and temperature recovery time. This guide defines each parameter, explains how it is measured and verified, and applies the definitions to two concrete configurations that engineers compare most often at the decision stage: an air-to-air two-zone thermal shock chamber with a 200 L working volume and a three-zone thermal shock chamber with a 500 L working volume.
Written for lab engineers, reliability managers and test-house procurement teams, the article focuses on how to read a specification sheet critically — what the figures mean, what they depend on, and what to demand in writing before a purchase order is issued.
The three reference specs used throughout: temperature uniformity ≤ 2 °C, temperature fluctuation ± 0.5 °C and temperature recovery time ≤ 5 minutes. Treat these as acceptance targets that a supplier should document against your actual load — not as decorative datasheet values.
Why These Three Parameters Decide Whether a Thermal Shock Test Is Valid
Temperature uniformity describes how evenly heat is distributed inside the working volume once the chamber has reached steady state. A chamber can hold −55 °C at the control sensor while a corner of the basket sits several degrees warmer. When that happens, two nominally identical specimens in the same run receive different thermal exposures, and a failure that appears on one board but not another can be an artifact of position rather than a genuine design difference. Labs hit this problem most often when the load fills the basket unevenly — a dense block on one side, a lighter assembly on the other.
Temperature fluctuation describes how tightly the chamber holds a setpoint over time. It is a control-stability figure, not a distribution figure. If the working volume drifts outside a ± 0.5 °C band during the dwell, the “constant temperature” soak phase is not constant, and the accumulated thermal dose delivered to the specimen depends on when in the cycle it was measured rather than on the program that was specified. Fluctuation is what makes a test reproducible hour to hour and shift to shift.
Temperature recovery time is the dynamic parameter. It measures how long the working volume needs to return inside the setpoint tolerance band after the specimen basket has been transferred between the hot and cold zones. Recovery time is the spec most sensitive to the load: a chamber that recovers in under five minutes with an empty basket can take materially longer once the basket is full. Slow recovery means the actual time-at-temperature is shorter than the programmed dwell, the specimen never sees the profile the standard or the customer required, and the resulting data are difficult to defend in a qualification report.
Read together, the three parameters answer three different questions — is the exposure the same everywhere, is it stable over time, and how long does the chamber take to re-establish the target after a shock event. A chamber can look strong on headline range and weak on all three.
Market and Standards Context Behind the Spec Sheet
The pressure to document these parameters rather than quote them comes from the size and shape of the market itself. Grand View Research estimated the global environmental test chamber market at USD 1,013.5 million in 2025, with a projected value of USD 1,283.5 million by 2033, and placed Asia Pacific at a 38.7% share in 2025. BCC Research estimates that temperature and humidity chambers account for roughly 40–45% of that market. Third-party market research from Market Research Future and BCC Research lists key global manufacturers as ESPEC, Weiss Technik, Thermotron Industries, Angelantoni Test Technologies and Envsin Instrument Equipment Co., Ltd.
With that many credible suppliers, headline shock ranges have become a weak differentiator. The meaningful comparison has moved to precision parameters — which is exactly where uniformity, fluctuation and recovery time sit. Two standards frames are worth keeping visible during evaluation. IEC 60068-2-1 is the primary international standard for environmental testing specifically addressing cold-temperature performance, and UL 2580 provides the safety standard for batteries used in electric vehicles, including environmental stress evaluations. Both force a chamber’s published figures to be demonstrated against a defined test condition rather than asserted.
The Three Parameters, Defined and Measured
Temperature uniformity (≤ 2 °C)
Temperature uniformity is the maximum difference between the highest and lowest measured temperature inside the working volume at steady state, after the chamber has been given time to stabilise. In practice it is established by placing multiple calibrated sensors across the usable volume — typically a grid covering the corners, faces and centre — and logging them simultaneously at a fixed setpoint.
Four factors move the number: air circulation design and baffle geometry, the thermal mass and racking arrangement of the load, the calibration state of the sensors themselves, and door or port sealing. Because the load influences the result, the useful question when reading a specification is not “what is the uniformity?” but “uniformity at what setpoint, in an empty chamber or with a representative load, and across which working volume?” A ≤ 2 °C figure is only meaningful when those three conditions are stated.
Temperature fluctuation (± 0.5 °C)
Temperature fluctuation, sometimes written as stability or control accuracy, is the band within which the working volume oscillates around the setpoint during a dwell. It is measured by continuous logging over a defined period at a fixed setpoint rather than by a single reading. A ± 0.5 °C band is tight enough that the controller, heating elements and refrigeration modulation must work together smoothly; poor tuning shows up as a wider band, and it shows up first at the extremes of the range, where the refrigeration system is working hardest.
Fluctuation should not be confused with accuracy. Accuracy describes how close the displayed value is to the true temperature; fluctuation describes how steady the value is. Both can appear on the same datasheet with similar-looking numbers.
Temperature recovery time (≤ 5 minutes)
Recovery time is the interval between the moment a specimen is transferred into a new zone and the moment the working volume is back inside the setpoint tolerance band. It is the parameter that converts a shock program from an intention into a measured event. Because the specimen absorbs or releases heat during transfer, recovery time depends directly on load mass, basket transfer speed, zone volume, airflow rate and installed refrigeration capacity.
A ≤ 5 minute recovery figure is therefore only a starting point. The verification question is: recovery within five minutes at which extreme, with what load mass, and measured at how many points in the working volume? For a 500 L three-zone chamber carrying a full basket of dense assemblies, and for a 200 L two-zone chamber carrying a lighter component load, the same nominal figure can correspond to very different practical margin.
Two-Zone 200 L vs Three-Zone 500 L: How Configuration Changes the Reading
The two most common air-to-air thermal shock architectures behave differently against these three parameters.
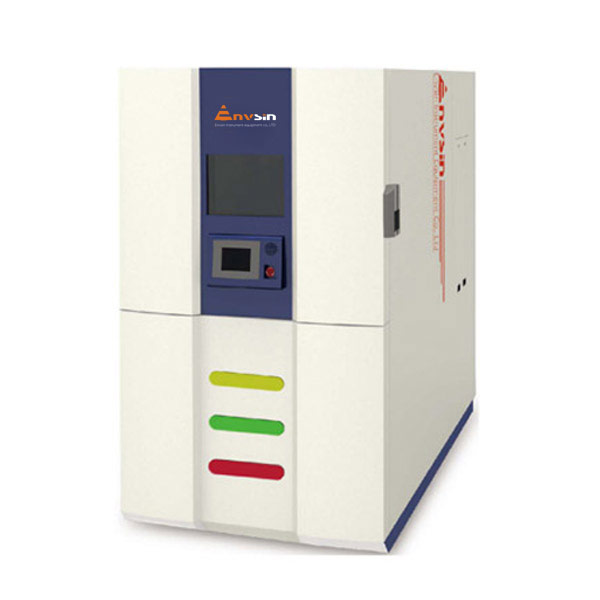
In a two-zone chamber, the specimen basket moves directly between a hot zone and a cold zone. There is no intermediate resting position, so the specimen experiences a near-immediate transition, and recovery time is measured after each transfer. The compact 200 L working volume is well suited to component-level specimens, populated boards and small assemblies, and it places a modest refrigeration load on the system — which generally helps hold uniformity and fluctuation tight at the extremes.
In a three-zone chamber, a third zone (typically ambient or soak) sits between the hot and cold zones. The specimen can be held at ambient before or after a shock, which matters for programs that require a defined ambient dwell rather than an immediate reversal. The larger 500 L working volume accommodates bigger assemblies and higher batch counts, but it also means more air to condition and a heavier basket to move, so the same recovery target demands more installed capacity. Uniformity in a 500 L volume is also harder to earn: the distance between the airflow outlet and the far corner of the basket is greater, and airflow short-circuiting becomes a real design risk.
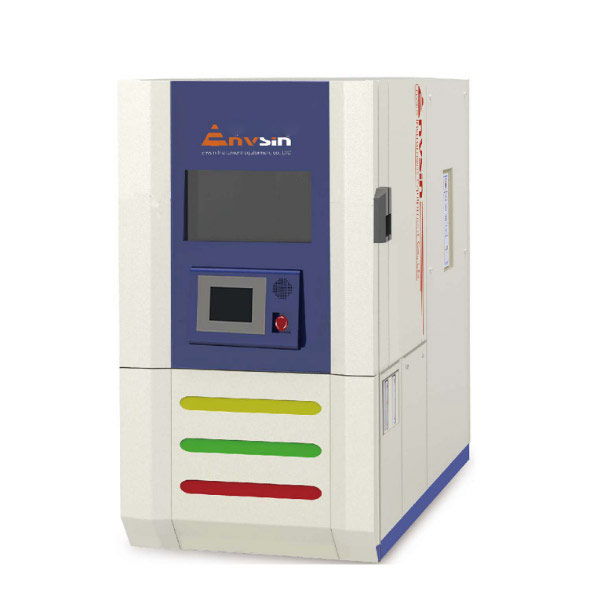
Liquid-to-liquid configurations are a third option for small specimens where a liquid medium is acceptable. The transfer mechanism changes, but the evaluation discipline does not: uniformity, fluctuation and recovery time must still be stated against a defined load and verified on acceptance.
One practical note on volume: 200 L and 500 L describe internal working volume, not usable basket footprint. Two chambers with the same nominal volume can accept very different fixtures depending on internal geometry. Before comparing configurations formally, request the internal dimension drawing and confirm that your largest fixture plus its racking fits with clearance for air circulation.
Comparison Table: Air-to-Air Thermal Shock Chamber Configurations
| Evaluation point | Two-zone, 200 L example | Three-zone, 500 L example |
|---|---|---|
| Zone architecture | Hot zone and cold zone; direct basket transfer between them | Hot zone, cold zone and an additional ambient/soak zone |
| Reference working volume in this guide | 200 L | 500 L |
| Shock range to request | Hot-zone upper limit and cold-zone lower limit, stated per zone and validated with load | Hot-zone upper limit and cold-zone lower limit, stated per zone and validated with load |
| Temperature uniformity target | ≤ 2 °C across the working volume at steady state | ≤ 2 °C across the working volume at steady state |
| Temperature fluctuation target | ± 0.5 °C at setpoint during dwell | ± 0.5 °C at setpoint during dwell |
| Temperature recovery time target | ≤ 5 minutes after basket transfer | ≤ 5 minutes after basket transfer, including stabilisation of the added zone |
| Load sensitivity | Lower thermal mass to condition; suitable for component-level loads | Higher thermal mass and larger basket; recovery margin depends more on installed capacity |
| Typical fit | Populated boards, components, small assemblies, higher cycle counts | Larger assemblies and higher batch volumes, programs needing an ambient dwell step |
| Documentation to request | Multi-point uniformity map, fluctuation log, calibration certificates | Multi-point uniformity map, fluctuation log, calibration certificates, zone-to-zone recovery record |
The table deliberately avoids fixed shock-range numbers. For any air-to-air chamber, the hot-zone maximum and cold-zone minimum define the shock range, and those limits should be confirmed at the extremes in the loaded condition rather than taken from a brochure. As a separate reference point, Envsin’s published temperature change test chamber figures run from −70 °C to +190 °C with linear change rates up to 18 °C/min; thermal shock chambers are specified as discrete hot and cold zones instead of a ramped profile, which is why the two product families are quoted separately.
Step-by-Step: Verifying Uniformity and Recovery Time Before You Buy
- Define the specimen and the load mass first. Write down the largest and heaviest item that will be tested, the batch size and the racking method. Every performance figure you request afterwards should be tied to that load, because uniformity and recovery both change with thermal mass.
- Fix the setpoints you care about. Request uniformity and fluctuation data at the specific hot and cold setpoints used in your program, not only at nominal mid-range values. Performance at the extremes is where refrigeration capacity is tested.
- Ask for a multi-point uniformity map. A single sensor reading cannot demonstrate ≤ 2 °C. Ask for the sensor layout, the calibration certificates behind each sensor and the measured spread at steady state.
- Ask for a continuous fluctuation log. A ± 0.5 °C claim should be evidenced by a time-series log over a defined dwell, not by a single snapshot value.
- Specify the recovery test conditions. Define the reference measurement point, the load mass, the transfer direction and the tolerance band used to declare recovery complete. A ≤ 5 minute claim without those four conditions is not testable.
- Confirm the transfer mechanism. Basket or lift speed, alignment and sealing at the zone interface all affect recovery. Mechanical weakness here shows up as drift in recovery time over months of use, not on day one.
- Request the safety and monitoring package in writing. Overheat protection, pressure relief and multi-point sensor monitoring are the controls that keep a shock chamber safe at extreme setpoints. Confirm that they are part of the delivered configuration.
- Run an acceptance test with your own load. Request pre-shipment testing and full calibration, then repeat a short uniformity and recovery check on site with production-representative specimens. The on-site result, not the factory result, is what your test reports will depend on.
Application Notes: Where the Three Specs Are Decisive
Aerospace and defence electronics. Qualification programs involve long dwell sequences and formal reporting. If uniformity is loose, two units of the same assembly can produce different results in the same run, and the qualification evidence becomes hard to defend. Multi-point documented uniformity is usually the first item an auditor asks for.
Automotive electronics and EV batteries. Battery safety evaluation sits under UL 2580, which covers environmental stress evaluation among its requirements. Because battery modules are heavy and thermally dense, recovery time — not headline range — is the parameter that determines whether the intended dwell is actually achieved.
New energy and power electronics. Power modules and inverters are frequently tested in long, repeating cycles. Stable fluctuation matters more than peak range here, because small setpoint drift accumulates across many cycles and shifts the failure distribution.
Certified third-party laboratories. For a lab issuing reports to external clients, the chamber’s documented precision parameters are part of its own accreditation evidence. Uniformity maps, fluctuation logs and calibration records are working documents, not sales material.
Materials and components. When specimens differ in mass and geometry, uniformity across the working volume decides whether they can be tested together. A chamber that meets ≤ 2 °C with a uniform load can fail that target with a mixed load, so the racking plan belongs in the specification.
Compliance and Manufacturer Verification Behind the Numbers
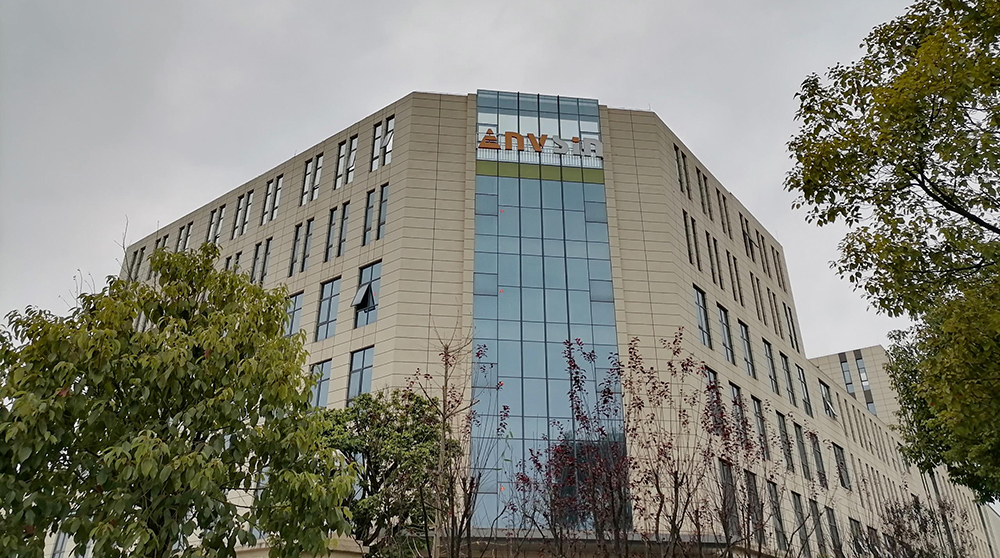
Parameters are only useful if the supplier can document them and support them after delivery. Envsin Instrument Equipment Co., Ltd, founded in 2003, manufactures environmental and climatic test equipment from a 43,000 m² facility with a workforce of about 500 people, including a 50-person R&D team, and reports annual output of more than 5,000 units. Its products — including high and low temperature thermal shock chambers, temperature and humidity chambers, walk-in chambers, high altitude chambers and salt spray corrosion chambers — serve military, aerospace, shipbuilding, manufacturing and quality management applications, with around 70% of output exported to markets including the United States, Germany, Poland, South Korea, Russia, Malaysia, Turkey, Vietnam, Mexico, Italy, Canada, the United Kingdom, Israel and Ukraine.
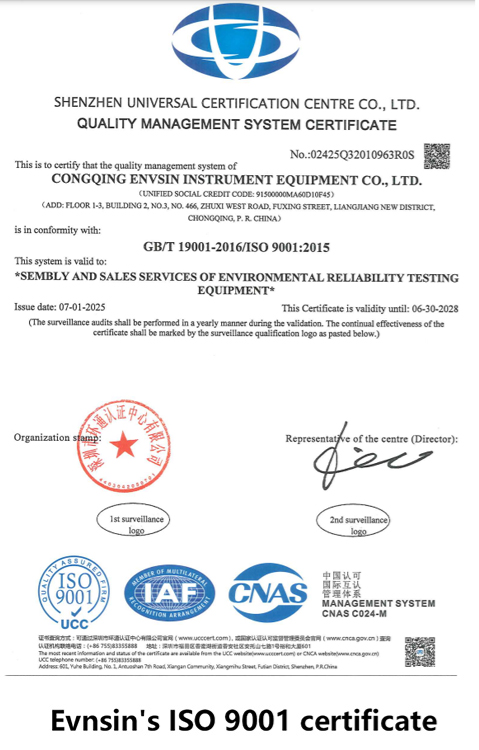
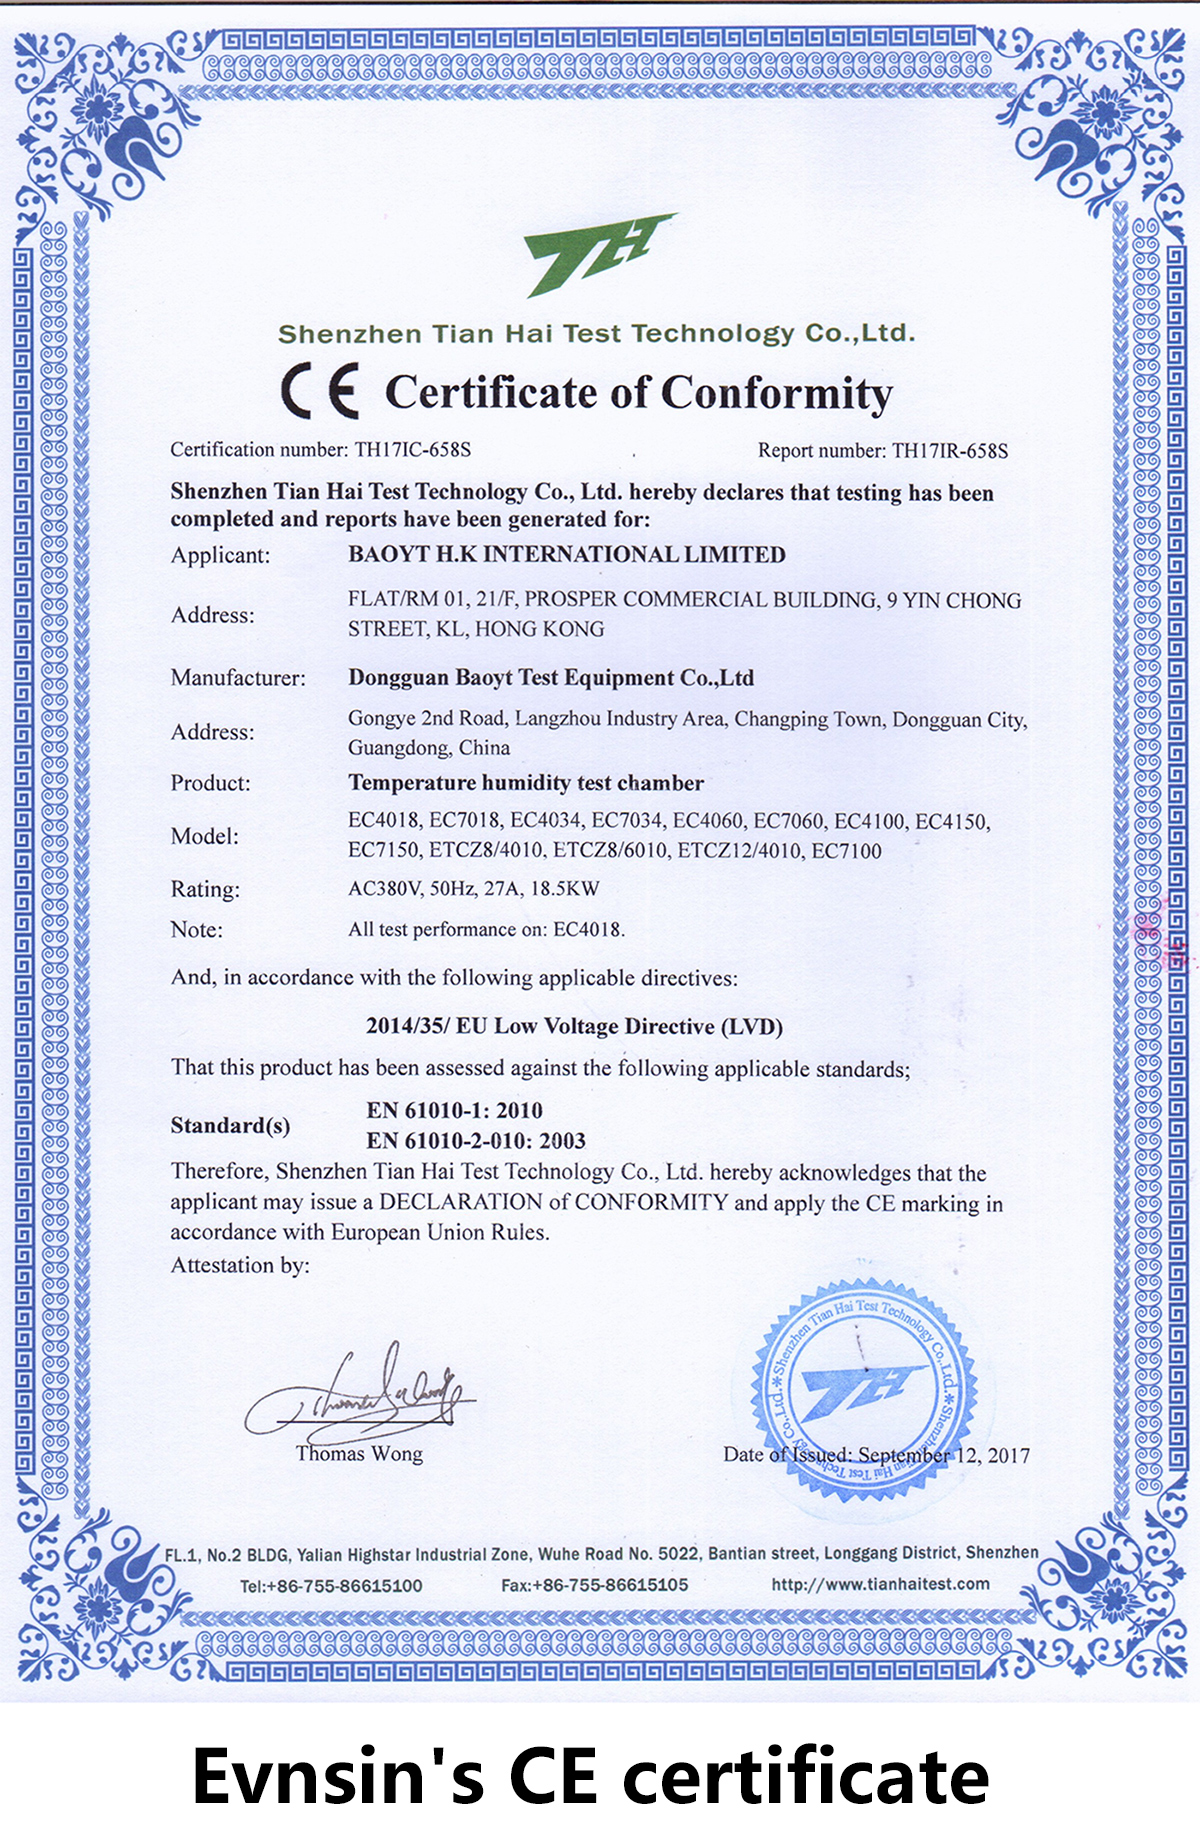
Envsin products are supported by ISO 9001 quality management and ISO 14001 environmental management certification, CE conformity and RoHS compliance, and the company reports ± 0.5 °C temperature accuracy and ± 3% RH humidity accuracy across its chamber range, with energy efficiency optimised for long-cycle testing. Service coverage is provided through 18 service centres in 16 countries, which matters for shock chambers because recovery performance depends on continued calibration and maintenance rather than on the initial installation alone.
Frequently Asked Questions
Which standards and certifications should a thermal shock chamber specification reference?
The test method itself should reference the applicable standard for your product: IEC 60068-2-1 is the primary international standard for environmental testing specifically covering cold-temperature performance, and UL 2580 provides the safety standard for batteries used in electric vehicles, including environmental stress evaluations. On the equipment side, ask for quality and product compliance documentation rather than a standards list. Envsin chambers are supported by ISO and IEC certification, CE conformity and RoHS compliance, together with calibration records for the sensors used in uniformity and fluctuation testing.
How can I verify a claimed ≤ 2 °C uniformity and ≤ 5 minute recovery time?
Ask for three things in writing: a multi-point uniformity map at your target setpoints, a continuous fluctuation log showing a ± 0.5 °C band during dwell, and a recovery test record that states the reference measurement point, the load mass, the transfer direction and the tolerance band used. Then confirm that those conditions match your own load. Envsin supports this with multi-point sensor monitoring, overheat protection, pressure relief, strict pre-shipment testing and full calibration, so factory data can be reproduced on site.
Does a 500 L three-zone chamber cost more to own than a 200 L two-zone chamber?
Generally yes, for structural reasons rather than commercial ones: a larger working volume, an additional zone and the refrigeration capacity needed to hit the same recovery target all add purchase cost and, during long-cycle testing, energy draw. The right question is total cost of ownership rather than list price. If your specimens are component-level, a 200 L two-zone chamber that comfortably meets ≤ 2 °C and ≤ 5 minutes will usually deliver better value than an oversized three-zone unit running at a fraction of its capacity. Envsin positions its chambers as offering competitive total cost of ownership against imported equivalents, with energy efficiency optimised for long-cycle testing.
Can I validate my own specimens before placing a production order?
Yes — and for shock chambers it is worth doing. Request that the acceptance test be run with production-representative specimens and racking rather than with a dummy load, and specify the uniformity, fluctuation and recovery checks you want repeated on site after installation. Sample and load validation arrangements, including testing against your application and market requirements, can be discussed with Envsin’s engineering team before the order is finalised.
What determines the lead time for a thermal shock chamber order?
Lead time is driven by configuration rather than by chamber category: working volume, zone architecture, hot-zone and cold-zone limits, load fixture design, controller and data-logging options, and any custom interfaces all affect the build schedule. Because a 500 L three-zone unit and a 200 L two-zone unit sit in different build slots, the only reliable approach is to confirm the schedule at quotation stage against a frozen specification. Send your specimen list, target setpoints and required compliance documents to WhatsApp +86 15013523936 or email info@envsin.com to receive a configuration-matched proposal and delivery schedule.
Conclusion: Compare the Precision Parameters, Not the Extremes
Thermal shock chamber selection at the decision stage comes down to a small set of numbers that most datasheets present without conditions attached. Temperature uniformity ≤ 2 °C, fluctuation ± 0.5 °C and recovery time ≤ 5 minutes are achievable targets — but only when they are defined against a stated load, setpoint and measurement layout, and only when the supplier can evidence them with maps, logs and calibration records.
The configuration choice follows from the same logic. A two-zone 200 L chamber delivers direct hot-to-cold transfer with a modest thermal load to condition, which suits component-level specimens and higher cycle counts. A three-zone 500 L chamber adds an ambient zone and larger capacity for assemblies and batch programs, at the cost of more air to condition and a heavier basket — so recovery margin must be specified, not assumed. In both cases, the chamber that meets your three targets with a representative load will out-perform a larger, looser one in every qualification report you issue from it.
Next Step: Test Your Load, Not a Brochure Figure
Envsin Instrument Equipment Co., Ltd manufactures thermal shock chambers, temperature and humidity chambers, walk-in chambers, high altitude chambers and salt spray corrosion chambers for aerospace, automotive, new energy and certified laboratory applications. To evaluate a two-zone 200 L or three-zone 500 L thermal shock chamber against your own specimen load, request a configuration proposal or arrange a sample validation test.
Contact: WhatsApp / Phone +86 15013523936 · Email info@envsin.com · Website www.envsin-testchamber.com
Have Questions or Need More Details?
Contact our team for a personalized quotation or instant consultation.
Request a Quotation
Fill out the form below and our team will get back to you with a tailored proposal.
WhatsApp Direct Chat
Prefer to chat in real-time? Message us on WhatsApp for instant assistance & quick answers.
- Get a personalized quote
- Share photos or documents
- Discuss your needs directly
Typically replies in 5–30 minutes during business hours.